
Crispy Irish Chicken Thighs

Juicy, bone-in chicken thighs with an airy panko crust and a gentle Irish-inspired herb lift—easy enough for weeknights, special enough for guests.

This recipe for Crispy Irish Chicken Thighs grew out of a desire to combine the humble comforts of home-cooked poultry with a crunchy, golden crust that holds up to reheating. I first developed this combination on a rainy Sunday when I had a bag of buttermilk about to expire and a craving for something both rustic and refined. The result is an effortless balance: skin that blisters and browns into shards of crispness, and meat that stays juicy beneath. The flavors are simple—smoked paprika and thyme provide a subtle warmth that complements the natural richness of the thigh without masking it.
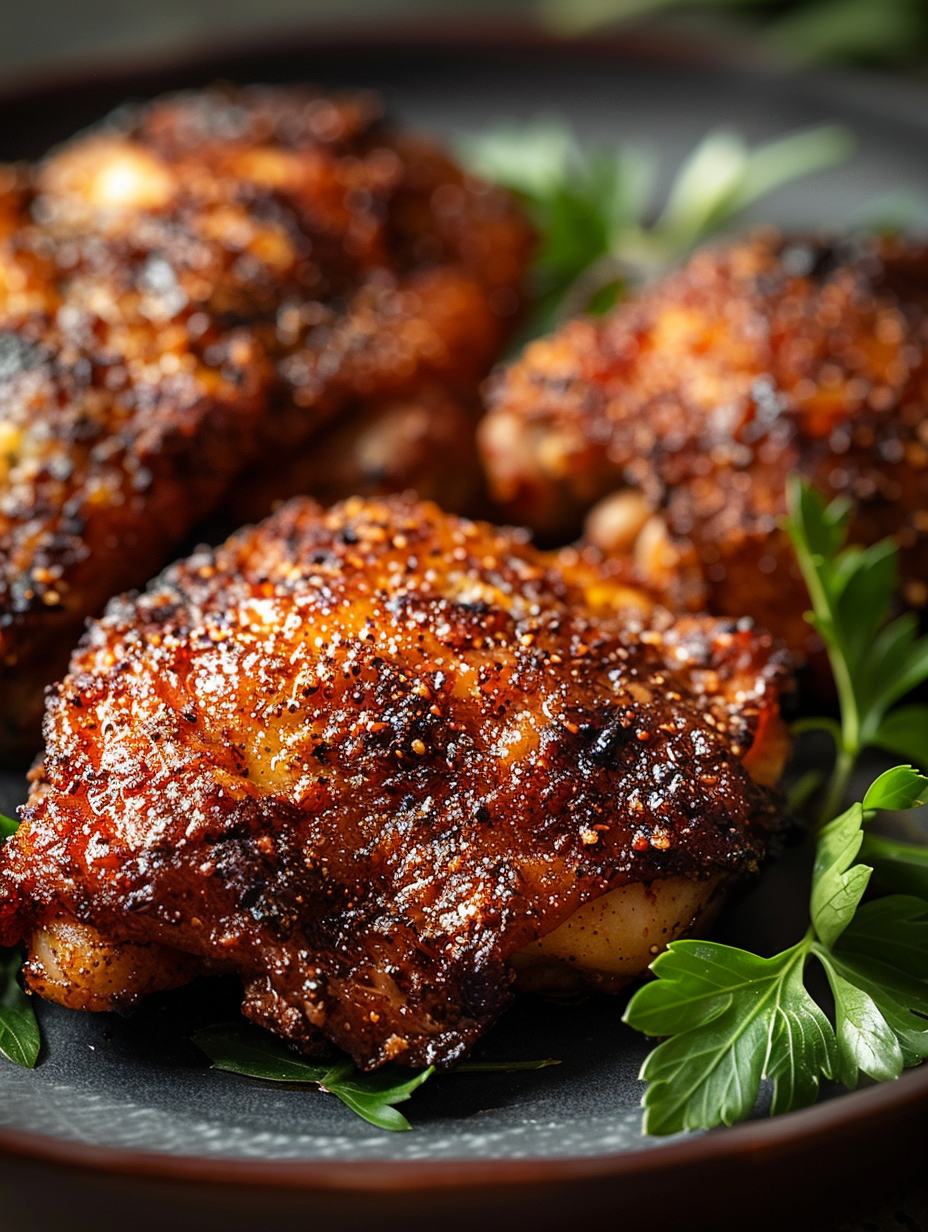
What makes this method special is the texture contrast. Using panko instead of finely ground crumbs gives the exterior an airy crunch, while the buttermilk gently tenderizes the meat for a velvety bite. I prefer locally raised thighs around 5 to 7 ounces each for even cooking. These are the kind of thighs that bring the family to the table—children who usually avoid dark meat come back for seconds, and friends always ask for the recipe. It’s also forgiving: a short rest, a quick broil at the end, and you have restaurant-level results at home.
Why You'll Love This Recipe
- Ready in about 45 minutes of active time with minimal hands-on effort; most of the time is baking while you prep sides.
- Uses pantry staples—all-purpose flour, panko, smoked paprika—paired with one fresh dairy item, so it’s easy to pull together after work.
- Panko breadcrumbs give a light, sustained crunch that stays crisp while reheating, unlike dense crumbs that soften quickly.
- Buttermilk tenderizes the thighs subtly, yielding juicy meat under a crackling skin without a long overnight brine.
- Flexible for dietary swaps: use olive oil instead of butter for dairy-free or gluten-free crumbs for a gluten-free option.
- Crowd-pleasing and scalable—double the ingredients for a gathering, or keep it small for a family dinner.
I first made this for a small St. Patrick’s Day dinner and the contrast between the crunchy exterior and lush interior earned audible gasps. Over time I adjusted the salt and smoked paprika so the coating sings without overwhelming the chicken. My partner still remembers the first bite as one of the best roasted birds I’ve made, and it often shows up at potlucks where the thighs disappear first.
Ingredients
- Bone-in, skin-on chicken thighs (8): Choose thighs with intact skin and even thickness for even browning. Aim for pieces about 5–7 ounces each; local poultry or a trusted brand will give the best texture and flavor.
- Buttermilk (1 cup): Full-fat buttermilk helps tenderize and adds gentle tang. If unavailable, thin plain yogurt with 1 tablespoon milk until smooth; this keeps the meat silky.
- Panko breadcrumbs (1 1/2 cups): Japanese-style panko delivers an airy, lasting crunch—avoid finely ground crumbs, which tend to collapse when baked.
- All-purpose flour (1 cup): Provides adhesion and a light, even base for the coating; either bleached or unbleached works fine.
- Salt (2 teaspoons) and black pepper (1 teaspoon): Kosher salt is recommended for even seasoning; freshly cracked black pepper gives aromatic lift.
- Smoked paprika (1 teaspoon): Offers a faint smokiness that enhances the crust without dominating the chicken’s flavor.
- Dried thyme (1 teaspoon): Thyme pairs beautifully with poultry—use 2 teaspoons of fresh thyme leaves if substituting fresh herbs.
- Garlic powder (1/2 teaspoon): Distributes garlic flavor evenly through the coating without risking burnt bits.
- Melted butter (2 tablespoons): Brushed over the crust before baking promotes deep browning; swap with olive oil for a dairy-free option.
Instructions
Prepare the workspace and chicken: Preheat the oven to 425°F. Line a rimmed baking sheet with foil and place a wire rack on top. Pat each thigh dry with paper towels—dry skin browns better. If pieces vary, tuck the thinner parts under or gently pound to even thickness. Season and soak: Season the thighs lightly with 1 teaspoon of the salt and half the pepper. Pour 1 cup of buttermilk into a shallow bowl and dip each thigh to coat; let rest on a tray for 15–30 minutes. For deeper tenderizing, refrigerate for up to 4 hours. Make the coating: Combine 1 cup flour, 1 1/2 cups panko, 1 teaspoon smoked paprika, 1 teaspoon dried thyme, 1/2 teaspoon garlic powder, and remaining salt and pepper in a wide dish. Use your hands or tongs to press the buttermilk-coated thighs into the mixture so the crust adheres evenly. Arrange for baking: Place coated thighs skin-side up on the wire rack, leaving space between pieces for air circulation. Brush or drizzle each thigh with melted butter—this encourages an even golden crust and deeper color during baking. Bake and finish: Bake at 425°F for 30–35 minutes until the skin is deep golden and the internal temperature reads 165°F with an instant-read thermometer. If the crust needs extra color, broil on high for 1–2 minutes watching closely to avoid burning. Rest and serve: Let the thighs rest 5 minutes before serving to allow juices to redistribute. Serve warm with lemon wedges and a bright salad to cut the richness.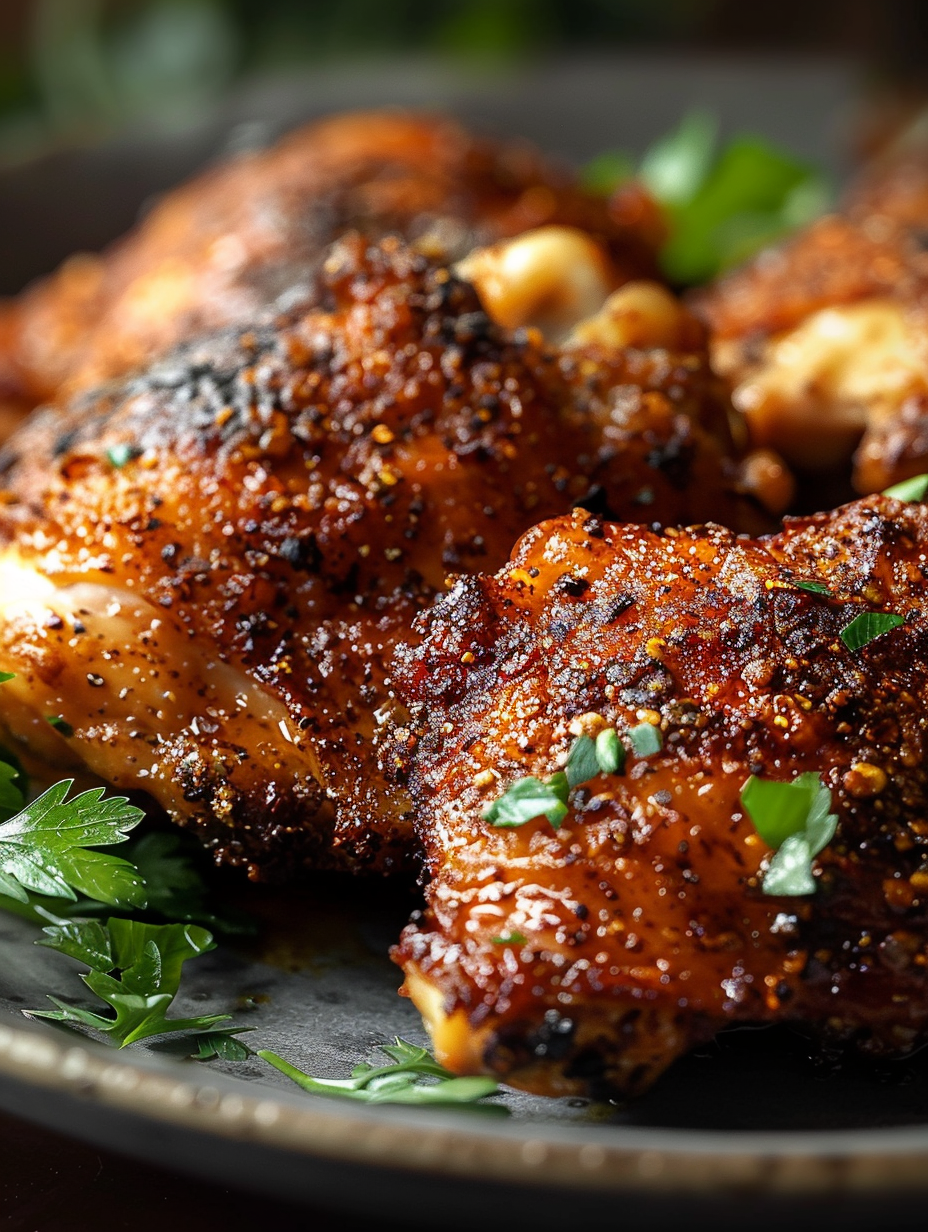
You Must Know
- This keeps well refrigerated up to 3 days and freezes for 2 months—reheat at 375°F to restore crispness.
- The crust benefits from a wire rack so hot air circulates and the bottom doesn’t steam.
- Contains dairy (buttermilk and butter) and gluten (flour and panko); use swaps if you need dairy-free or gluten-free versions.
- For the crispiest finish, broil for no more than 1–2 minutes at the end while monitoring closely.
My favorite thing about this approach is how reliably it produces both texture and flavor without complicated steps. It’s the kind of dish where a small change—switching to smoked paprika, or brushing with butter—makes an outsized improvement. At family dinners the thighs are always the first to go, and I’ve learned that a hot, sharp lemon wedge served alongside brings the whole dish to life.
Storage Tips
Store leftover thighs in an airtight container in the refrigerator for up to three days. To freeze, cool completely, wrap each thigh tightly in plastic wrap and place in a freezer-safe bag for up to two months. Reheat from thawed in a 375°F oven on a wire rack for 12–15 minutes to revive crunch; if reheating from frozen, allow 20–25 minutes and check internal temperature reaches 165°F. Avoid microwaving for reheating, as that will soften the crust. For best results re-crisp under the broiler for 30–60 seconds at the end.
Ingredient Substitutions
If you need a dairy-free version, use 1 cup of plain unsweetened almond milk plus 1 tablespoon white vinegar as a buttermilk substitute, and swap melted butter for extra-virgin olive oil. For gluten-free, choose certified gluten-free panko or crushed cornflakes and a 1:1 gluten-free flour blend. Fresh thyme can replace dried at a 2:1 ratio. Use smoked or sweet paprika depending on how smoky you want the final flavor—start with less if using an intensely smoked brand.
Serving Suggestions
These thighs pair beautifully with mashed potatoes or buttered peas for a classic plate, or serve over a bright herbed slaw to balance richness. For a Mediterranean twist, add a simple lemon-herb yogurt sauce on the side. Garnish with flaky sea salt and lemon wedges, and consider roasted root vegetables or a vibrant kale salad for seasonal balance. For casual gatherings, place thighs on a platter with pickled vegetables and crusty bread to soak up juices.
Cultural Background
While not a traditional Irish recipe in the historical sense, these thighs reference the hearty, straightforward cooking often found in Irish kitchens—simple seasoning, reliable roasting techniques, and an emphasis on quality ingredients. The use of thyme nods to the herb garden staples, while smoked paprika is a modern addition that pairs well with roasted meats. This style of cooking celebrates comfort and practicality, which is why it fits so well into contemporary interpretations of Irish-inspired meals.
Seasonal Adaptations
In spring and summer, finish the dish with lemon and fresh parsley for brightness and serve alongside roasted asparagus. In fall and winter, swap the sides for creamy mashed root vegetables and braised cabbage. For colder months, increase the thyme and add a pinch of cayenne or ground allspice to deepen the flavor profile. For festive occasions, serve with a cider reduction glaze brushed on during the last 5 minutes of roasting.
Meal Prep Tips
For meal-prep, remove bones if desired after cooking to portion into grain bowls with roasted vegetables, or keep whole for grab-and-go dinners. Assemble the coating and store in a sealed jar; dredge and bake the day you plan to eat for best texture. If prepping ahead, par-bake the thighs for 20 minutes, cool, refrigerate, then reheat at 400°F for 10–12 minutes to finish and re-crisp the skin.
These Crispy Irish Chicken Thighs are an adaptable, reliable recipe that rewards small adjustments and makes weeknight dinners feel a little more celebratory. Share them with friends, pack them for lunches, or serve them at a casual dinner party—the crunch and juicy interior never fail to impress. Try making them tonight and see which variation becomes your family favorite.
Pro Tips
Pat the skin completely dry before coating; moisture prevents browning.
Use a wire rack over a baking sheet so air circulates and the underside stays crisp.
Brush melted butter or olive oil on the crust before baking to encourage even browning.
Monitor the broiler closely—1–2 minutes makes a difference but can burn quickly.
Let the thighs rest 5 minutes after baking to redistribute juices for juicier meat.
This nourishing crispy irish chicken thighs recipe is sure to be a staple in your kitchen. Enjoy every moist, high protein slice — it is perfect for breakfast or as a wholesome snack any time.
FAQs about Recipes
Can I reheat leftovers in the microwave?
Yes. For best texture, reheat in a 375°F oven on a wire rack until warmed through to preserve crispness.
How can I make this dairy-free?
Use almond milk with 1 tablespoon vinegar as a dairy-free buttermilk substitute and use olive oil instead of butter.
Tags
Crispy Irish Chicken Thighs
This Crispy Irish Chicken Thighs recipe makes perfectly juicy, tender, and flavorful steak every time! Serve with potatoes and a side salad for an unforgettable dinner in under 30 minutes.
Ingredients
Main
Instructions
Preheat and prep
Preheat oven to 425°F. Line a rimmed baking sheet with foil and set a wire rack on top. Pat thighs dry to ensure dry skin for best browning.
Season and soak
Lightly season thighs, then dip each in 1 cup buttermilk. Let rest 15–30 minutes at room temperature or refrigerate up to 4 hours for deeper tenderizing.
Prepare coating
Combine flour, panko, smoked paprika, thyme, garlic powder, salt, and pepper. Press buttermilk-coated thighs into the mixture to form an even crust.
Arrange and brush
Place coated thighs skin-side up on the wire rack with space between. Brush each with 2 tablespoons melted butter or olive oil to promote browning.
Bake to finish
Bake at 425°F for 30–35 minutes until internal temperature reaches 165°F and skin is golden. Broil for 1–2 minutes if additional color is desired, watching carefully.
Rest and serve
Allow thighs to rest 5 minutes before serving. Serve with lemon wedges and a fresh salad or mashed potatoes.
Last Step: Please leave a rating and comment letting us know how you liked this recipe! This helps our business to thrive and continue providing free, high-quality recipes for you.
Nutrition
Did You Make This?
Leave a comment & rating below or tag
@aiolirecipe on social media!
Categories:
You might also like...

Fall Harvest Pasta Salad
A cozy, colorful salad that celebrates autumn flavors — roasted butternut squash and Brussels sprouts tossed with pasta, cranberries, pecans, and tangy feta, finished with a balsamic vinaigrette.

Cilantro Lime Steak Bowls
Bright, tangy cilantro-lime marinated flank steak served over rice with black beans, corn, fresh veggies and creamy avocado for a fast, healthy weeknight bowl.

Pecan Pie Crescent Rolls
Buttery crescent rolls filled with a sweet pecan pie–inspired filling — a quick, crowd-pleasing dessert perfect for holidays or weeknight cravings.
Did You Make This?
Leave a comment & rating below or tag @aiolirecipe on social media!
Rate This Recipe
Share This Recipe
Enjoyed this recipe? Share it with friends and family, and don't forget to leave a review!
Comments (1)
This recipe looks amazing! Can't wait to try it.
Comments are stored locally in your browser. Server comments are displayed alongside your local comments.
Hi, I'm Olivia!
What's Popular

30-Minute Meals!
Join to receive our email series which contains a round-up of some of our quick and easy family favorite recipes.