
Easy Cheesy Pizza Pockets

Golden, hand-held pockets filled with melted mozzarella and your favorite toppings—quick to assemble, perfect for lunches, snacks, or casual dinners.

This recipe started as a weeknight rescue when my kids wanted pizza but I didn't want to make an entire pie. I discovered the joy of pizza pockets one rainy afternoon while pulling a ball of store-bought dough from the fridge and rummaging through the fridge for odds and ends. The result was instant: bubbly cheese, crisp, golden dough, and the satisfaction of a neat, hand-held portion everyone could personalize. Over time I refined the fold, sealing technique, and finishing brush to make these reliable, leak-free, and wallet-friendly.
These pockets are special because they combine the comforting chew of pizza crust with the gooey magic of melted mozzarella, all wrapped into an easy parcel you can pop into the oven. They live comfortably in the boundary between snack and meal — great for busy afternoons, packed lunches, or as a casual appetizer at a gathering. The outside becomes golden and slightly crisp while the inside stays molten and satisfying. I always make a double batch when friends stop by; most never leave without asking for the recipe.
Why You'll Love This Recipe
- Fast assembly: from rolling to oven takes about 20 minutes active time, and the pockets bake in just 15–20 minutes, perfect for weeknights.
- Customizable fillings: use pepperoni, roasted vegetables, leftover rotisserie chicken, or a simple margherita mix for different moods.
- Pantry-friendly: uses common items like pizza dough, shredded mozzarella, and olive oil—no specialty equipment required.
- Make-ahead friendly: you can assemble and freeze the pockets before baking for easy reheating later.
- Kid-approved and portable: hand-held format makes them ideal for lunchboxes or picnics without sticky utensils.
- Minimal cleanup: parchment-lined sheet and one pastry brush are the only special tasks, so cleanup is quick.
My family reactions are always the most honest review: my teenager declared them ‘better than delivery’ on a good night, and my neighbor took a plate to her office potluck where they disappeared in minutes. Over the years small tweaks — thinner rolling for a flakier crust, a light brush of oil for sheen, and a gentle press with a fork to seal — made a big difference in avoiding leaks and keeping the pockets neat.
Ingredients
- 1 lb pizza dough: Store-bought dough from the refrigerated section or a homemade ball works well. Look for dough that is elastic and not overly sticky; King Arthur and Trader Joe’s brands are reliable picks. Room temperature dough is easier to roll and yields a more pliable crust.
- 2 cups shredded mozzarella cheese: Whole-milk mozzarella gives the best melt and stretch. Pre-shredded works for convenience, but freshly shredded from a block melts creamier and avoids anti-caking agents.
- 1 cup assorted toppings: Choose toppings that are already cooked or quick to roast: pepperoni, sliced bell peppers, sautéed mushrooms, or thinly sliced cooked chicken. Avoid watery vegetables like raw tomato unless drained.
- 2 tbsp olive oil: A light brush of extra-virgin olive oil adds color and a subtle fruitiness to the crust. Use a neutral oil if you prefer a milder finish.
- 1 tsp Italian seasoning: A blend of oregano, basil, and thyme that adds an aromatic finish; substitute with a pinch of dried oregano and garlic powder if needed.
Instructions
Preheat and prepare:Preheat your oven to 400°F (200°C) and line a baking sheet with parchment paper. A hot oven creates a crisp exterior while ensuring the inside heats quickly, minimizing oiling or sogginess. Position the rack in the center of the oven for even browning. Allow dough to sit at room temperature for 10–15 minutes if it was refrigerated, which relaxes the gluten for easier rolling.Roll and cut:Lightly flour your work surface and roll the dough to about 1/8 inch thickness. Aim for even thickness so all pockets bake uniformly. Use a ruler and a chef’s knife or pizza cutter to cut into roughly 4×4 inch squares. You should get around 8 medium pockets from a 1 lb ball of dough; adjust size for more or fewer pockets.Fill:On one half of each square, place about 2 tablespoons of shredded mozzarella and 1–2 tablespoons of chosen toppings. Keep filling away from the edges by about 1/4 inch to make sealing easier. Overfilling is the most common cause of leaks, so resist the urge to pile on too much.Seal and finish:Fold the other half over to create a pocket and press the edges firmly. Run the tines of a fork along the seam to crimp and ensure a tight seal. Brush each pocket lightly with 1/4 teaspoon of olive oil and sprinkle with Italian seasoning for color and flavor. If you want a glossy finish, beat a small egg with a tablespoon of water and use that instead of oil.Bake and rest:Arrange pockets on the prepared sheet with space between them and bake for 15–20 minutes until they turn golden brown and the cheese inside is melted. If the edges brown too quickly, tent loosely with foil. Let pockets rest for 3–5 minutes after baking to allow the filling to set slightly; this prevents molten cheese from spilling when you bite in.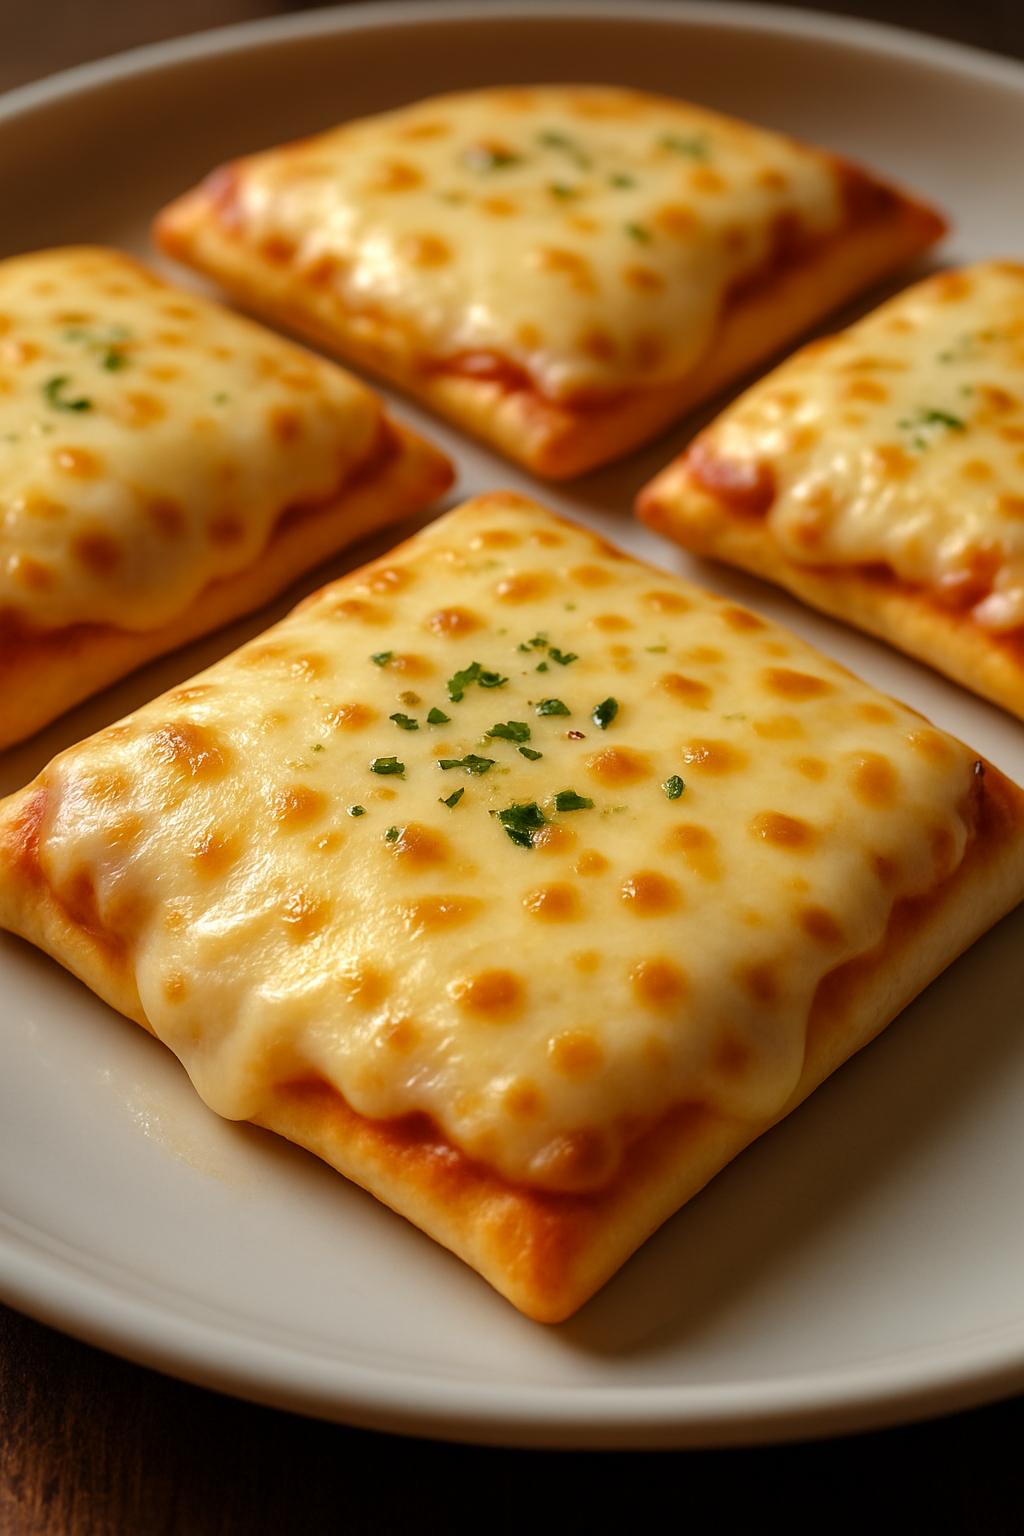
You Must Know
- These pockets freeze beautifully: freeze raw, sealed pockets on a tray, then transfer to a bag for up to 3 months; bake from frozen at 400°F for 20–25 minutes.
- They’re high in calcium and protein when filled with cheese and lean meats; adjust portion size for calorie control.
- Seal properly to avoid leaks—moist toppings and overfilling are the most common problems.
- Use toppings that are either pre-cooked or thinly sliced to ensure everything heats through in the short bake time.
What I love most is the versatility: once you master the basic fold and sealing method, these pockets become a canvas. I’ve made them with leftover roast vegetables, breakfast fillings with scrambled eggs and bacon, and a simple margherita combo that showcases fresh basil. Family and friends often tell me the baked smell is the best part; it pulls people into the kitchen and that communal moment of waiting together is a small joy every time.
Storage Tips
To keep these pockets at their best, cool them completely before refrigerating to avoid condensation inside storage containers. Stored in an airtight container, they will last 3–4 days in the refrigerator. For longer storage, flash-freeze on a sheet for 1 hour, then transfer to a freezer bag; they’ll keep up to 3 months. Reheat from chilled in a 350°F oven for 8–12 minutes or from frozen for 18–22 minutes, until heated through. Avoid using the microwave for reheating unless you don’t mind a softer crust—microwaves make the dough chewy rather than crisp.
Ingredient Substitutions
Swap the mozzarella for provolone for a slightly sharper profile, or use a 50/50 mix of mozzarella and cheddar for a more pronounced flavor. For a gluten-free version, use a store-bought gluten-free dough or pre-made gluten-free pizza crust rolled to size, though texture will be denser. If you need dairy-free, choose a melting plant-based cheese and brush with oil instead of egg for shine. For lean protein, use cooked shredded chicken or turkey instead of pepperoni; reduce oil slightly when using fatty meats.
Serving Suggestions
Serve warm with a side of marinara or a simple salad. For parties, place pockets in a basket lined with a clean cloth to keep them warm and invite guests to grab-and-go. Pair with crisp, bitter greens dressed in lemon and olive oil to cut through the richness, or offer roasted vegetables and olives for a Mediterranean-style spread. Garnish with fresh basil or a sprinkle of flaky sea salt for an elevated finish.
Cultural Background
Hand-held filled breads appear across many cuisines: from Italian calzones to empanadas in Latin America and pasties in Northern Europe. The modern pizza pocket is a compact descendant of the calzone—both are dough parcels filled with cheese and savory ingredients. This format likely developed as a practical way to transport warm, portable food without utensils. Over time it became a comforting convenience food in many households, adapted to local tastes and available ingredients.
Seasonal Adaptations
Adjust fillings by season: in summer, use roasted sweet peppers, fresh basil, and a light drizzle of pesto; in autumn, go for caramelized onions, sautéed mushrooms, and sage. Switch cheeses seasonally too—use smoked mozzarella or fontina in cooler months for a heartier profile. For holiday gatherings, make mini pockets with richer fillings—prosciutto, fig jam, and goat cheese—for a festive appetizer.
Meal Prep Tips
Assemble pockets on a sheet tray and freeze until firm to create grab-and-bake portions. Label bags with bake times and contents. If packing for lunches, wrap in foil and include a small container of warm marinara for dipping—reheat in a toaster oven at the office if available. Keep a dedicated box of pre-measured toppings in the fridge so assembly takes less than 10 minutes on active days.
These pizza pockets are one of those crowd-pleasing recipes that invite creativity and sharing. They’re uncomplicated, forgiving, and endlessly adaptable—what I hope you gain from this is confidence to make them your own and a few extra minutes of joy at the table.
Pro Tips
Keep fillings dry: pat mushrooms or tomatoes dry and pre-cook watery vegetables to prevent soggy pockets.
Don’t overfill: leave a 1/4 inch border to ensure a tight seal and avoid leaks.
Rest before serving: let pockets rest 3–5 minutes after baking so the filling sets and you avoid molten cheese burns.
This nourishing easy cheesy pizza pockets recipe is sure to be a staple in your kitchen. Enjoy every moist, high protein slice — it is perfect for breakfast or as a wholesome snack any time.
FAQs about Recipes
Can I freeze pizza pockets?
Freeze assembled pockets on a tray until firm, then store in a freezer bag for up to 3 months. Bake from frozen at 400°F for 20–25 minutes.
How can I make these gluten-free?
Yes—use gluten-free dough or a pre-made gluten-free crust rolled thin. Texture will be slightly different but still delicious.
Tags
Easy Cheesy Pizza Pockets
This Easy Cheesy Pizza Pockets recipe makes perfectly juicy, tender, and flavorful steak every time! Serve with potatoes and a side salad for an unforgettable dinner in under 30 minutes.
Ingredients
Dough
Filling
Finish
Instructions
Preheat and prepare
Preheat oven to 400°F (200°C) and line a baking sheet with parchment paper. Allow refrigerated dough to sit at room temperature 10–15 minutes to relax gluten for easier rolling.
Roll and cut dough
On a lightly floured surface, roll dough to about 1/8 inch thickness. Cut into 4×4 inch squares with a pizza cutter or sharp knife. Aim for even thickness for uniform baking.
Assemble pockets
Place about 2 tbsp shredded mozzarella and 1–2 tbsp toppings on one half of each square, keeping fillings away from the edges by 1/4 inch to prevent leaks.
Seal and finish
Fold the dough over the filling, press edges firmly, and crimp with a fork. Brush pockets with olive oil and sprinkle with Italian seasoning. Use egg wash for a glossy finish if desired.
Bake and rest
Bake on center rack for 15–20 minutes until golden brown and cheese is melted. Let rest 3–5 minutes to allow filling to set before serving.
Last Step: Please leave a rating and comment letting us know how you liked this recipe! This helps our business to thrive and continue providing free, high-quality recipes for you.
Nutrition
Did You Make This?
Leave a comment & rating below or tag
@aiolirecipe on social media!
Categories:
You might also like...

Fall Harvest Pasta Salad
A cozy, colorful salad that celebrates autumn flavors — roasted butternut squash and Brussels sprouts tossed with pasta, cranberries, pecans, and tangy feta, finished with a balsamic vinaigrette.

Cilantro Lime Steak Bowls
Bright, tangy cilantro-lime marinated flank steak served over rice with black beans, corn, fresh veggies and creamy avocado for a fast, healthy weeknight bowl.

Pecan Pie Crescent Rolls
Buttery crescent rolls filled with a sweet pecan pie–inspired filling — a quick, crowd-pleasing dessert perfect for holidays or weeknight cravings.
Did You Make This?
Leave a comment & rating below or tag @aiolirecipe on social media!
Rate This Recipe
Share This Recipe
Enjoyed this recipe? Share it with friends and family, and don't forget to leave a review!
Comments (1)
This recipe looks amazing! Can't wait to try it.
Comments are stored locally in your browser. Server comments are displayed alongside your local comments.
Hi, I'm Olivia!
What's Popular

30-Minute Meals!
Join to receive our email series which contains a round-up of some of our quick and easy family favorite recipes.